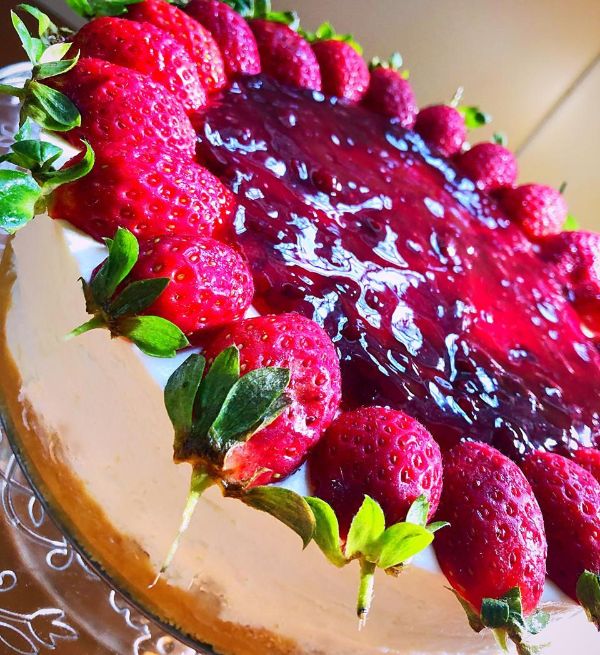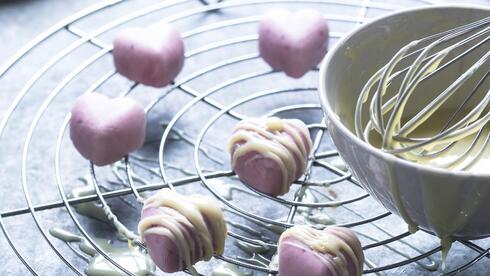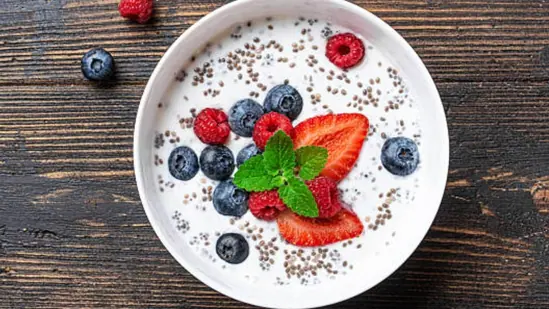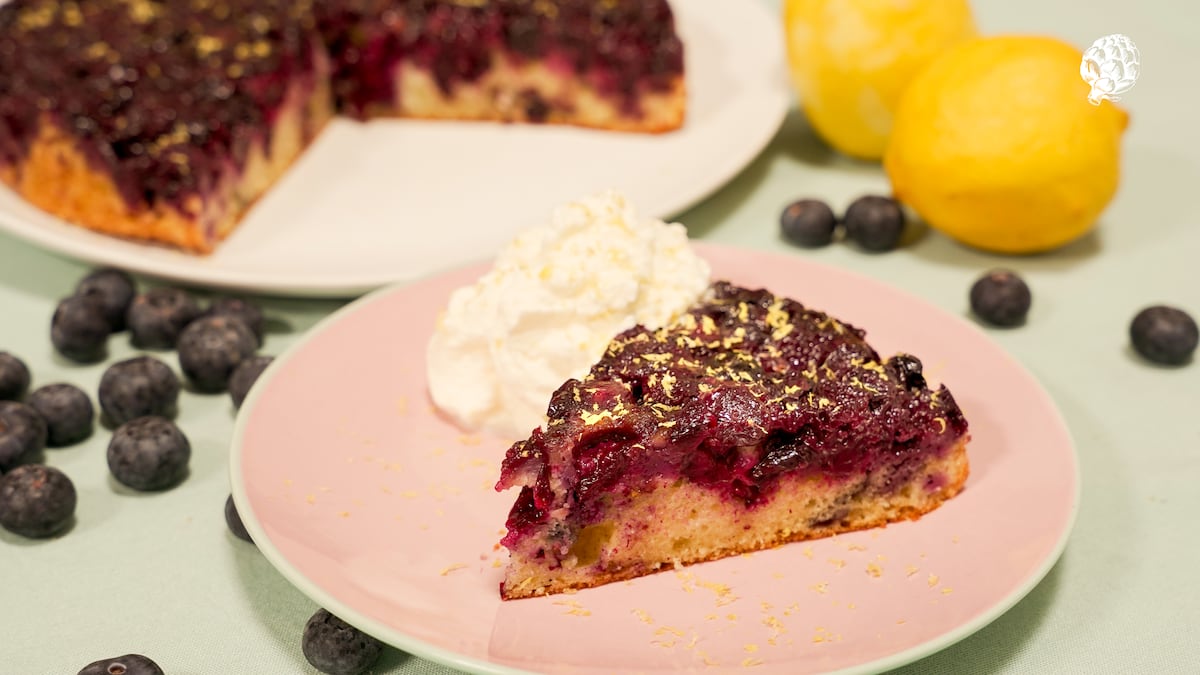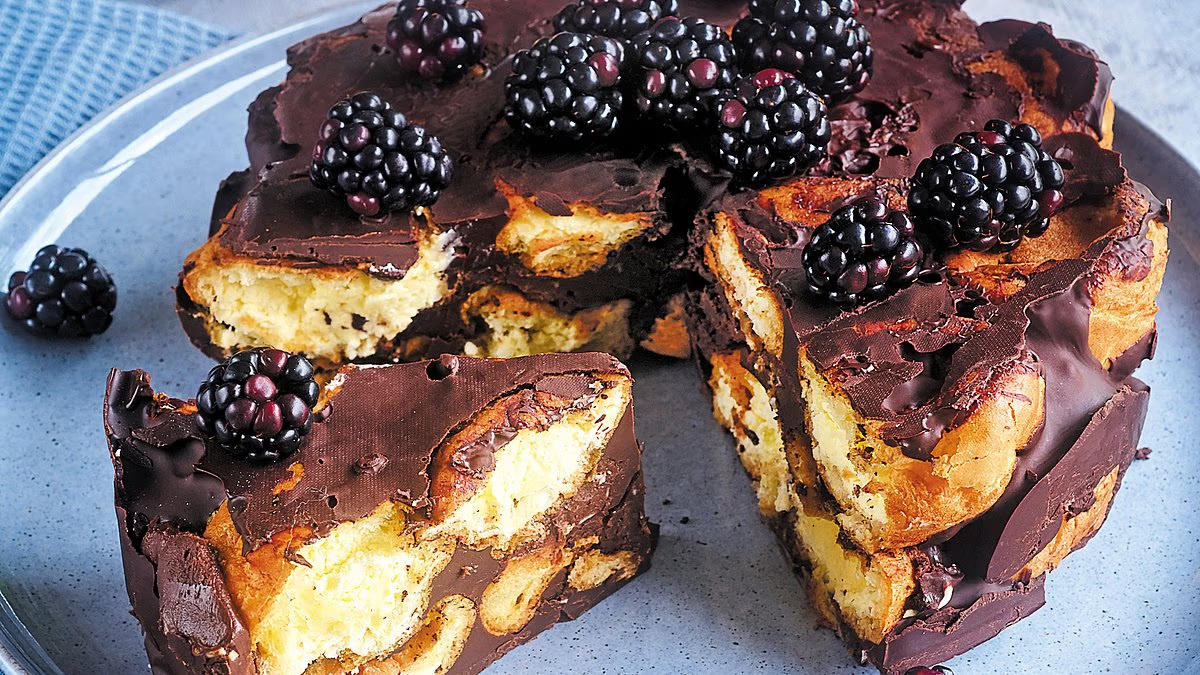
Fake Fab LolliesThese DIY lollies hack the classic flavours, but with a healthier – and yummier – twist.SERVES 4230g frozen strawberries1 tbsp jam (I use strawberry, but any jam will do)100g natural yogurt1 tsp runny honeyfew drops of vanilla extract75g dark chocolate, chopped2 tbsp multicoloured sprinkles1 Clean and prep your lolly moulds and lolly sticks (my moulds are small, approximately 8cm long).2 Put the strawberries and jam in a blender or food processor and blitz to a purée. You may need to let the berries defrost a little at room temperature first. Pour the ruby-red mixture into the moulds, insert the sticks and transfer to the freezer for an hour to set.3 In a tall glass, mix the yogurt with the honey and vanilla extract.4 Cover a plate with greaseproof paper so that, in the next stage, you can set the lollies down without them sticking. Remove the lollies from their moulds and, one by one, dunk each into the yogurt mixture, only going two-thirds of the way down (so you can still see a third of the strawberry layer). Place them on the covered plate and return to the freezer for another hour to set.5 Melt the chocolate in a heatproof bowl. This can be done either by microwaving it on high for 30 seconds at a time, stirring well between each blast, or by suspending the bowl over a saucepan of simmering water, ensuring the bowl doesn’t touch the water, and stirring occasionally. Let it cool slightly before starting the next stage.6 Dunk each lolly into the melted chocolate, only going a third of the way down (so you can still see a third each of the yogurt and berry layers). Working quickly, so the chocolate doesn’t set, spoon plenty of sprinkles over the chocolate layer. You’ll need to do this over a bowl as it gets messy!7 Return the lollies to the freezer for one more hour. They’ll keep in the freezer, in a sealed container, for up to three weeks.Malted Ice Cream Slice A cross between a traybake and an ice cream pie. Trust me, it’s hard to stop at just one helping…SERVES 16300g chocolate digestive biscuits120g unsalted butter, plus extra for greasing500ml vanilla ice cream397g tin of caramel sauce30g malted milk powder (I use Horlicks)100g chocolate-covered honeycomb balls6 chocolate flakes, crumbled1 Lightly grease a 22cm square baking tin. Tip the biscuits into a large bowl and, using the end of a rolling pin, crush them to crumbs. You can also do this in a blender or food processor, or put them in a resealable plastic bag and bash them with something heavy.2 Melt the butter in a heatproof bowl. This is easiest to do in the microwave on high, in 30-second blasts, or by suspending the bowl over a saucepan of simmering water. Mix the melted butter into the biscuit crumbs.3 Press the sandy mixture down into the base of the greased tin, using a palette knife or the back of a spoon to smooth it out. Put the tin in the freezer for 30 minutes to firm up.4 Remove the ice cream from the freezer and put it in a large bowl to soften while you get on with the next step.5 Tip the caramel sauce into a medium bowl and beat it with a whisk to get rid of any lumps. Pour this over the frozen biscuit base and return the tin to the freezer for 30 minutes.6 When the ice cream has softened, stir in the malted milk powder.7 Crumble the honeycomb balls (I bash the packet a few times with a rolling pin) and stir three quarters of them through the ice cream. Spread this over the top of the frozen caramel then scatter over the remaining honeycomb balls. Top with the crumbled chocolate flakes. Return the tin to the freezer for 2-3 hours.8 Remove the tin from the freezer 30-40 minutes before you want to serve, and gently slide the slice out, as it’s easier to cut when slightly soft. You can keep it in the freezer for up to a month, covered in tin foil or clingfilm and still in its tin.Profiterole Cake This is the ultimate dinner party-worthy pudding – prepped in under ten minutes and ready to impress!SERVES 8300g dark chocolate, chopped30g unsalted butter, plus extra for greasing24 shop-bought chilled/fresh profiteroles200g fresh blackberries or other seasonal fruit1 Grease a 20cm round cake tin and line it with greaseproof paper, making sure there is plenty of overhang.2 Melt 200g of the chocolate with the butter in a heatproof bowl. You can do this by suspending the bowl over a saucepan of simmering water (ensuring the bowl doesn’t touch the water), stirring occasionally as the steam melts the chocolate from beneath. Or you can microwave it on high, in 30-second bursts, stirring well between each one.3 Dip each profiterole into the melted chocolate mixture and then squash them into the lined tin. Press tightly together, so the base of the tin is completely covered. You’re aiming for two layers, so roughly 12 profiteroles per layer. Fill in any gaps with leftover chocolate mixture. Fold the greaseproof paper overhang over the top and then press the cake down, using a smaller cake tin. Refrigerate for at least two hours.4 Take the cake out of the fridge around 15 minutes before you want to serve it. Carefully remove it from the tin; you’ll need to invert it and then turn it the right way up again. Melt the remaining 100g chocolate (as before), and drizzle this over the cake and then top with blackberries or other fruit before serving. Keep the cake in the fridge in an airtight container; it will last for 3-4 days.Piñata Party Cake This fun cake translates the surprise of a treat-filled piñata into sponge, with a river of sweeties hidden inside this multicoloured extravaganza.SERVES 10-1220cm shop-bought vanilla/Madeira cake400g tub of shop-bought vanilla buttercream250g colourful sweets and small chocolates, unwrapped130g multicoloured sprinkles (about 2 packets)handful of mini sugar-coated chocolate beans (I use Smarties)1 Take the cake out of its packaging and place on a serving plate. If it’s not already cut into 2 layers, use a sharp serrated knife to slice it in half horizontally.2 Using a small bowl or jar (about 6cm diameter) and a sharp knife, cut a circle completely through the cake’s base layer to make a doughnut shape. Cut a circle the same size a few centimetres into the underside of the other cake layer – but NOT all the way through.3 Spread around a quarter of the vanilla buttercream over the doughnut-shaped base. Fill the hole in the cake with sweets and chocolates. Pile them high so they completely fill the centre of the cake. Place the other cake half – with the hole cut partway through – on top, using the buttercream to stick them back together.4 With a palette knife, spread half of the remaining buttercream around the sides of the cake, covering as much sponge as you can. Don’t worry about being too neat.5 Tip three-quarters of the sprinkles on to a large plate. Using clean hands, carefully pick up the cake, holding the top and bottom so as not to get icing everywhere (and making sure you cover the hole in the bottom with your hand so the sweets don’t fall out). Roll it like a wheel in the sprinkles, so the circumference is completely covered.6 Lay the cake flat again, spread the remaining buttercream over the top and cover with the rest of the sprinkles. Finish by making some ‘flowers’ out of the chocolate beans to press on top of the cake. I use yellow for the centres and another colour for the petals – arrange 4-5 across the top. The cake will keep for 4-5 days in an airtight tin.Chocolate Berry Tart Whenever somebody asks me to bring dessert to a dinner party, I make this quick tart. To look at, it’s a bit of a showstopper, but it couldn’t be simpler to make.SERVES 6320g sheet ready-rolled puff pastry1 egg250g mixed fresh berries or other fruit of your choice200g chocolate spread200g shop-bought custardhandful of toasted nuts, finely choppedfew fresh mint springs or leaves1 Preheat the oven to 180C/160C fan/gas 4.2 Unroll the pastry (keep it on the greaseproof paper it comes on) and, with a sharp knife, cut off around a quarter of the rectangle to make a square. (Don’t discard the offcuts; you can use these to make puff pastry straws with a little grated cheese and garlic granules.) Using the same knife, mark a border around 1.5cm-2cm inside the square, making sure you just score the pastry and don’t cut right through it.3 Lightly whisk the egg in a small bowl and use a pastry brush to egg-wash the border only. Prick the inside of the square with a fork so it doesn’t rise too much. Slide the tart case (on its paper) to a baking sheet.4 Bake for 35 minutes, until golden brown. While it cooks, wash and prep your berries. I like to halve strawberries or cut them into thin slices. Slide the pastry case on to a wire rack and let it cool completely.5 Mix the chocolate spread and custard together and spread this over the inner square of the cooled tart case. Top with the berries, a scattering of chopped nuts and a few fresh mint sprigs or leaves. It’s best eaten on the day it’s made, but will keep, well covered, for 2-3 days in the fridge.Strawberry Ripple CakeRipple cakes are all the rage in Australia – not only are they tasty, but they’re so easy to make. This spin on the traditional chocolate flavour uses sweet strawberries and velvety whipped cream to create a light-as-a-feather sponge, topped with berries and meringues.SERVES 8230g fresh strawberries, washed, hulled and halved120g icing sugar600ml double cream1 tsp vanilla extract400g rectangular shortcake biscuits, approx. 35 biscuits totalMini meringues and white chocolate chips, to decorate1 Line a 900g/2lb loaf tin with greaseproof paper or a liner. This will make it easy to take the cake out once it’s chilled.2 Holding back a handful to decorate the cake, put the strawberries in a small bowl with 1 tablespoon of the icing sugar. Mash them together roughly with a fork and set aside.3 In a large bowl, whisk the cream together with the remaining icing sugar and the vanilla extract until it forms stiff peaks that hold their shape when you remove the whisk. This should take 3-4 minutes with an electric beater; double that by hand.4 Gently stir the mashed strawberries into the cream, making sure you don’t fully mix them together – this gives the ripple effect.5 You’ll need to do a bit of maths here, to work out how to arrange your biscuits in the tin. Standing them on their ends, and lining them up like dominos, try to make them roughly fit the size and shape of the tin. It doesn’t matter how you do this – I do 5 rows (standing along the longer side of the tin) of 7. Once you’ve worked this out, start assembling the cake.6 Spread a layer of the strawberry cream over the base of the loaf tin. Take the first biscuit and spread a spoonful of cream on the back and front. Stand it upright in the tin, on top of the cream layer, in the position you’d planned. Taking the second biscuit, spread a spoonful of cream on the front only and sandwich the back of it to the biscuit that’s already in the tin. Repeat for the remaining biscuits, standing them up in neat rows so they completely fill the tin. Make sure any that are touching the sides have cream on both the back and front. Finish by spreading any remaining cream over the top, filling in any gaps and completely covering the biscuits.7 Cover the whole thing in cling film and put it in the fridge for at least 6 hours, or preferably overnight, to set.8 Gently turn it out of the tin onto your serving board. Top with the remaining strawberries and some mini meringues and white chocolate chips. It’ll keep, well covered, in the fridge for another 2-3 days.Biscuit BrowniesNo flour? No problem. These nifty brownies are made with something you’re bound to have plenty of in your cupboards: biscuits. You can use any odds and ends of packets you have lying around, even if they’re starting to go slightly soft or stale.SERVES 16350g biscuits, broken bits and all (any variety will do)200g dark chocolate (at least 70% cocoa solids, chopped)200g unsalted butter, plus extra for greasing3 eggs220g caster sugar1 Preheat the oven to 180C/160C fan/gas 4 and grease and line a 22cm square tin.2 Put 100g biscuits in a blender or food processor and blitz them to a very fine crumb. You can also do this by hand: put them in a bowl and bash them with a rolling pin; or put them in a Ziplock bag and crush them with something heavy. Set aside.3 Melt the chocolate and butter together in a heatproof bowl. Either put them in the microwave on high and blast for 30 seconds at a time, stirring between each, or suspend the bowl over a saucepan of simmering water (don’t let the bowl touch the water) and let the steam melt them from beneath, stirring occasionally. Leave the mixture aside to cool.4 In a separate large bowl, whisk the eggs and sugar together until pale and frothy. It’ll take 2-3 minutes with an electric whisk; double this if you’re doing it by hand. Stir in the melted chocolate mixture, followed by the biscuit crumbs.5 Break up the remaining biscuits, holding back around 8, and stir them into the brownie batter. Tip it into the prepared tin, smooth out the top and press on the final biscuits, whole or in pieces, if you prefer.6 Bake for 25 minutes or until cracked and shiny on top, with a slight wobble underneath. Allow it to cool completely in the tin before slicing into squares to serve. They’ll keep for 3-4 days in an airtight container.NOW BUY THE BOOK Our recipes are from How To Cheat At Baking by Sarah Rainey with photographs by William Shaw (Michael O’Mara Books, £18.99). To order a copy for £16.14 until 16 August, go to mailshop.co.uk/books or call 020 3176 2937.
No bake cakes and treats ready in as little as 10 minutes
Create showstopping cheat-treats with Sarah Rainey's nifty ideas
2,400 words~11 min read