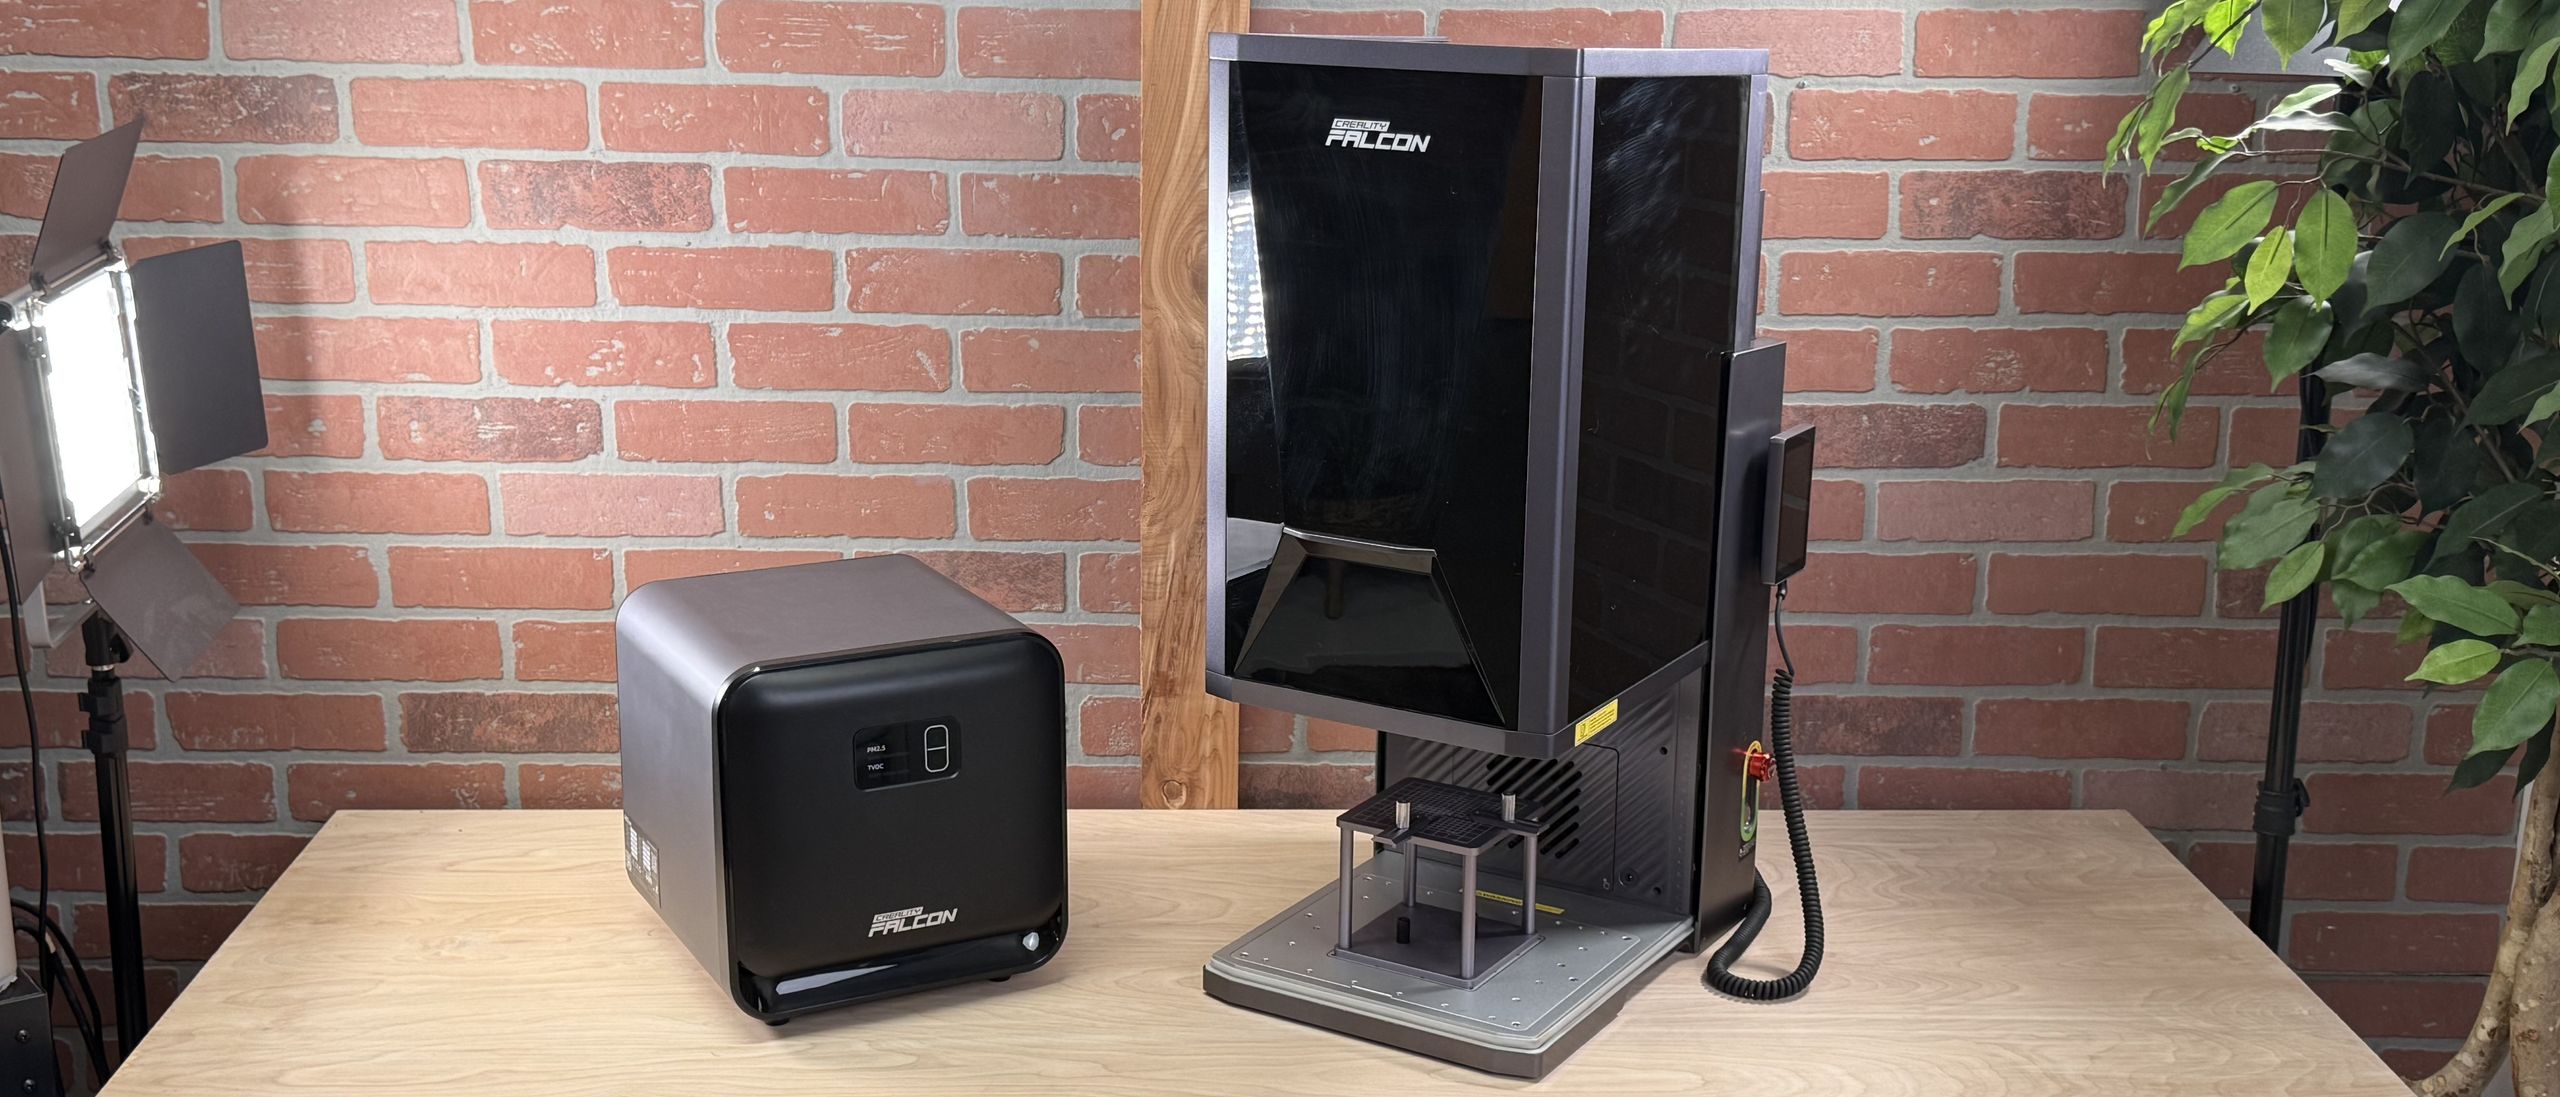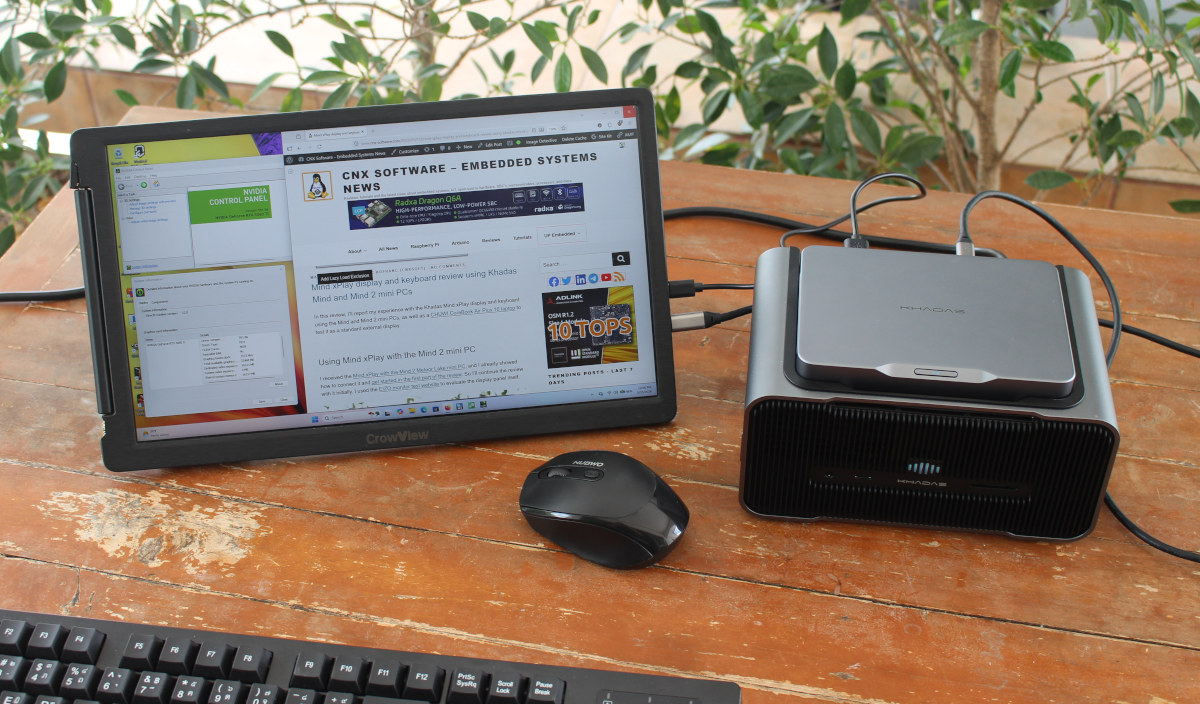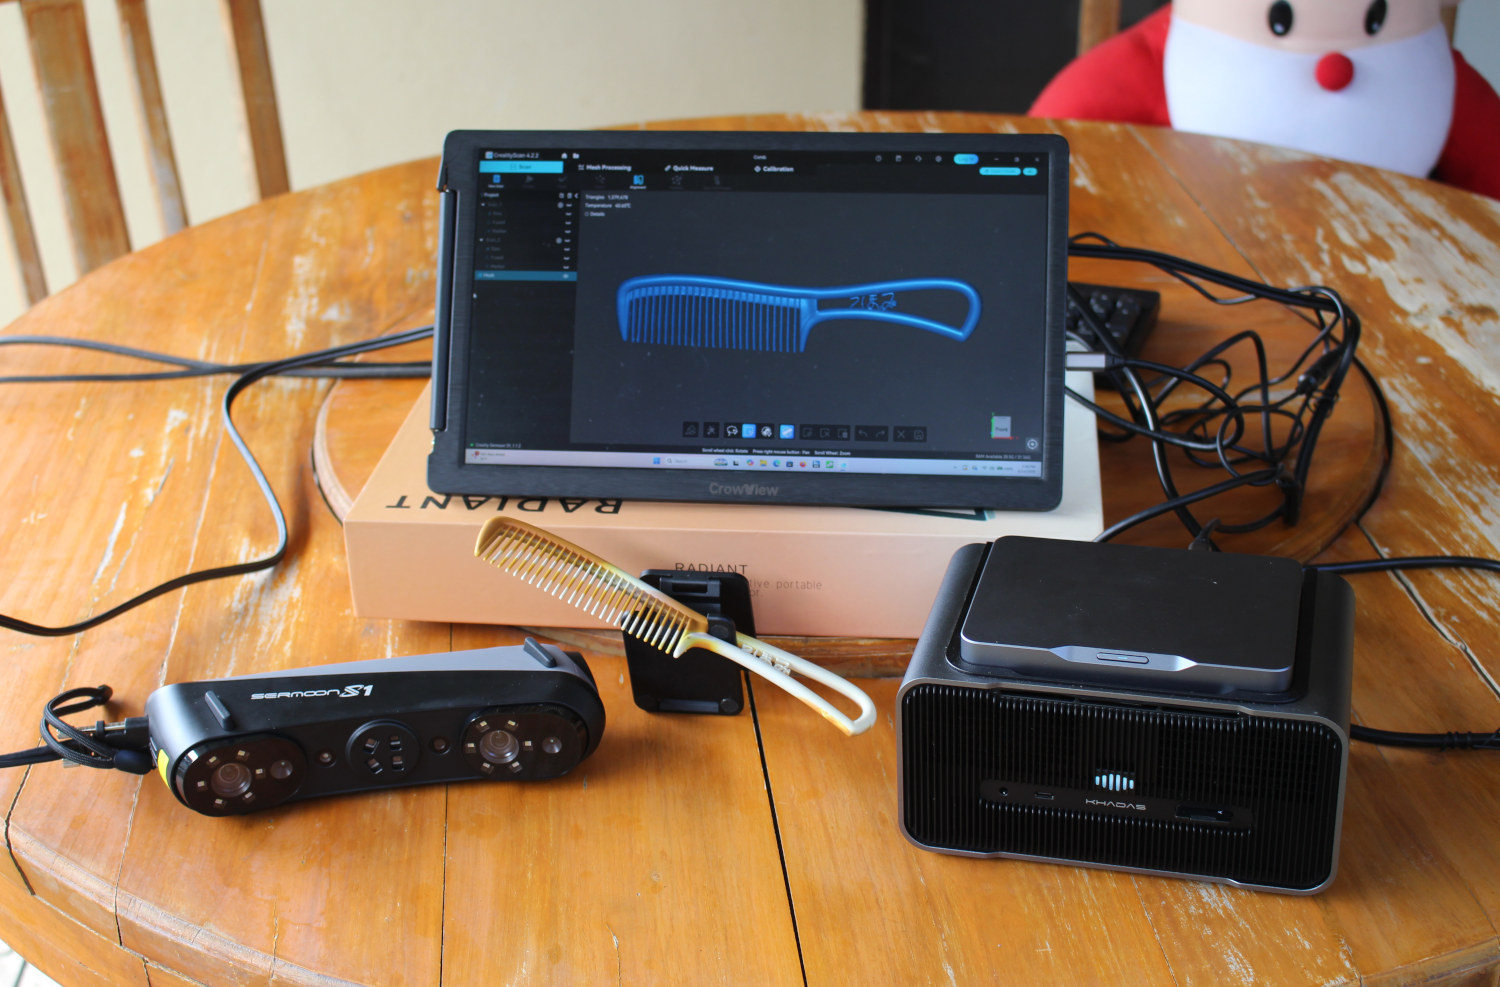
At the end of last year, I received a Creality Sermoon S1 high-end 3D scanner for review. After checking the specifications and going through an unboxing in the first part of the review, I used the 3D scanner with an Intel Core i5-13500H laptop with 16GB of RAM running Creality Scan 4 software on Windows 11.The laptop specs were below the minimum hardware requirements (NVIDIA GPU, 32GB RAM), and while I managed to scan a face and bust using infrared mode, it was a struggle with 4 to 5 FPS scanning, and I wasn’t able to use Blue light scanning at all. Luckily, shortly after the review, Khadas informed me they planned to send a Khadas Mind Graphics 2 dock featuring an NVIDIA GeForce RTX 560 Ti 16GB graphics card and a Mind 2 mini PC with 32GB of RAM and an Intel Core Ultra 7 155H 16-core Meteor Lake processor. What I didn’t know was that it would take around 5 months to receive it!Nevertheless, I’ve already reviewed the Khadas Mind Graphics 2 with 3D graphics and AI workloads, so it’s finally time to test it with the Creality Sermoon S1 3D scanner. Since I’ve already gone through Crealite Scan 4 software installation, firmware update, and calibration in the previous review, I’ll focus on re-testing infrared mode to check performance and trying Blue mode scanning for detailed objects.Infrared mode scanning with Sermoon S1 + Khadas Mind 2 GraphicsWhen installing Creality Scan 4 software, it will estimate the performance of the host, and I went from a “Poor PC performance” on my laptop with up to 9 FPS in blue laser mode, and 16 FPS in infrared mode, to “Excellent PC performance” with the Khadas Mind 2 mini PC and Mind 2 Graphics dock handling up to 90 FPS in blue laser mode and 30 FPS in infrared mode.I also had to update the scanner firmware and decided to redo the calibration since it had been over 6 months. The calibration was much easier with the higher frame rate, and it took me only 2 to 3 minutes to complete.Let’s try a scan in infrared mode using a largish Santa Claus plush toy.It was night and day compared to the previous review. On the faster NVIDIA-based machine, I completed the 3D scan in just over 2 minutes, compared to 15 minutes on the Intel laptop. The frame rate is 21 FPS on the screenshot, but most of the time it was around 29 FPS.There were some extra parts and holes in the scan, but after going through Fusion and Mesh processing with parameters like “Remove Isolated Parts”, “Fill Small Holes”, and enabling the “Water tight” option…… the result looks fairly good. Note the Fusion part still took several minutes even as I reduced the number of triangles to 1.2 million.Here’s a video showing the full scan.That’s all good. As a reminder, infrared mode is best used for fast scanning and tracking of geometry (e.g., human faces and bodies, sculptures), texture (e.g., a porcelain vase with drawings), and markers for objects with insufficient geometry and texture.Blue laser mode with Sermoon S1 3D scannerBlue laser mode is best suited for high-accuracy, high-detail scans and typically requires markers. I could not use it at all with my laptop last time around; let’s give it a try now that I have a more powerful machine. Since it can be used on objects as small as 5 x 5 x 5mm and with high details, I decided to go with a 20 Bath commemorative coin.The coin is just 32mm in diameter, and the text can be hard to read with the naked eye. It’s probably quite a difficult scan. On this type of shiny object, I’m also supposed to use scanning spray, but I will do without.First, we need to prepare the desk by adding several 3mm tracking markers provided with the scanner. For small objects, markers are placed on the desk, but for larger objects, you can also place them on the object itself.Let’s go to the Creality Scan software, create a new project, and start a Scan with Blue laser mode, with markers, Pointcloud scan mode, and parallel lines mode. Exclude flat base should also be selected.For reference, three line modes are available:
Creality Sermoon S1 review - Part 3: 3D scanning with Khadas Mind 2 and NVIDIA GeForce RTX 5060 Ti 16GB dock - CNX Software
At the end of last year, I received a Creality Sermoon S1 high-end 3D scanner for review. After checking the specifications and going through an unboxing
1,923 words~9 min read