Skip to content
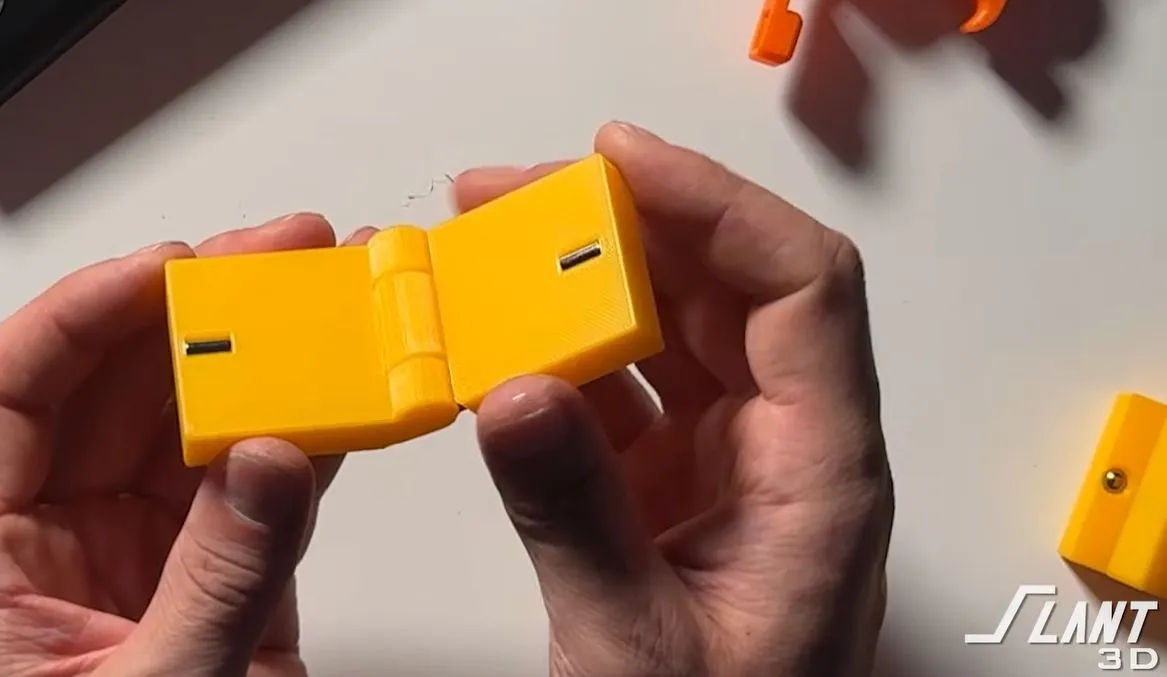
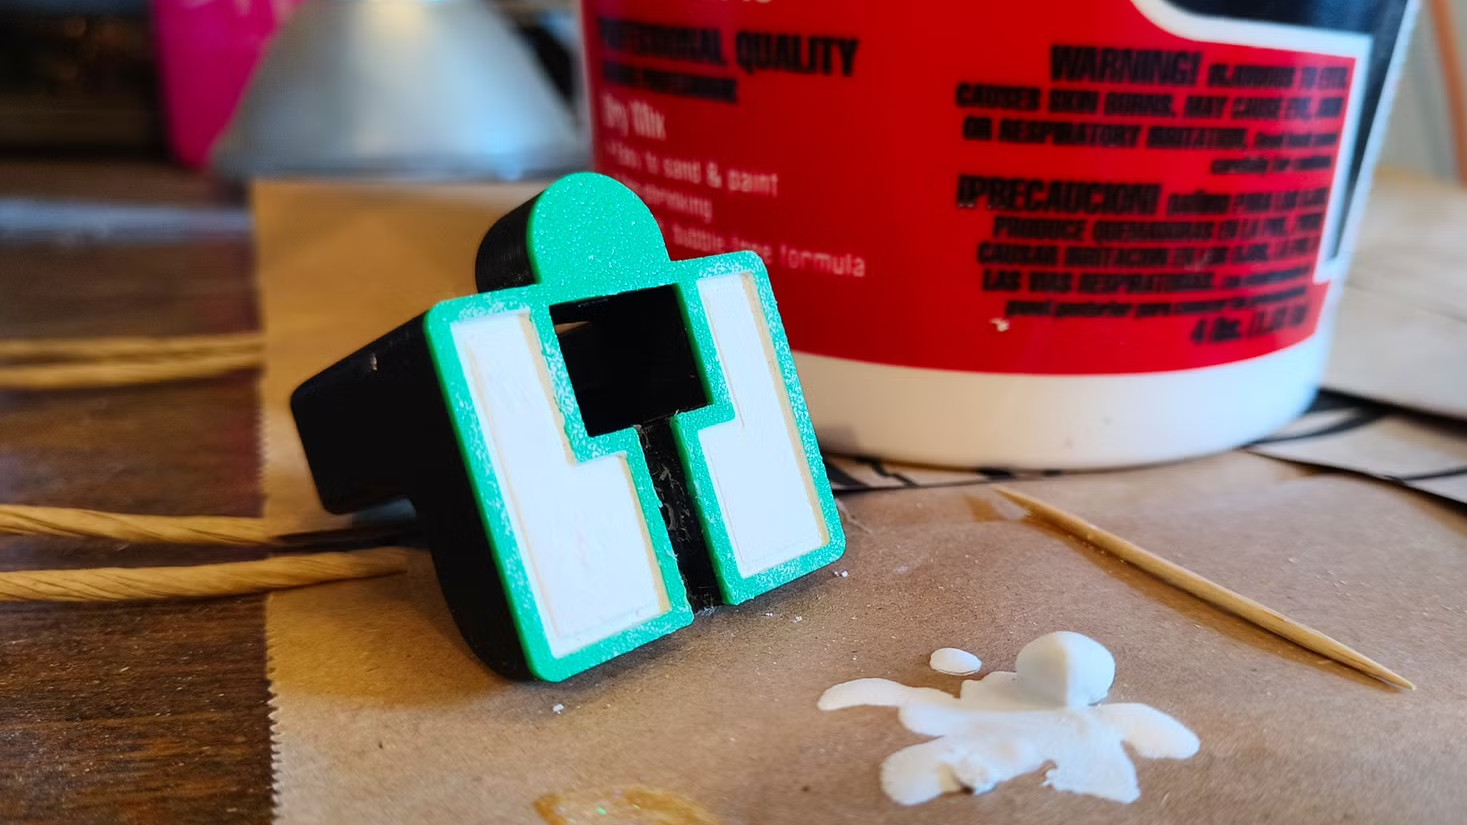
Sometimes it’s useful to add extra mass to a 3D print, and [Joe Fedewa] shared a simple and effective technique that uses plaster of Paris. Rather than pause the print and insert hardware or weighted bits inside, he designed the base as hollow. Not in the sense of zero infill, but in the sense of modeling a cavity into the open bottom of the object.
An open cavity in the base is perfect for filling with plaster of Paris.
After the print is complete, he mixes the dry plaster with water until it creates a thick but pourable mixture. Then the object gets turned upside-down and the cavity filled. In about an hour, it will have set up enough to be handled and worked.
Plaster of Paris has a good heft to it, but more importantly it can be made perfectly presentable thanks to being very friendly to post-processing. Any rough spots can be easily sanded and the whole bottom smoothed, so one doesn’t even need to cap it off. Completely cured plaster can be sealed with a clear coat for a more durable finish, if desired.