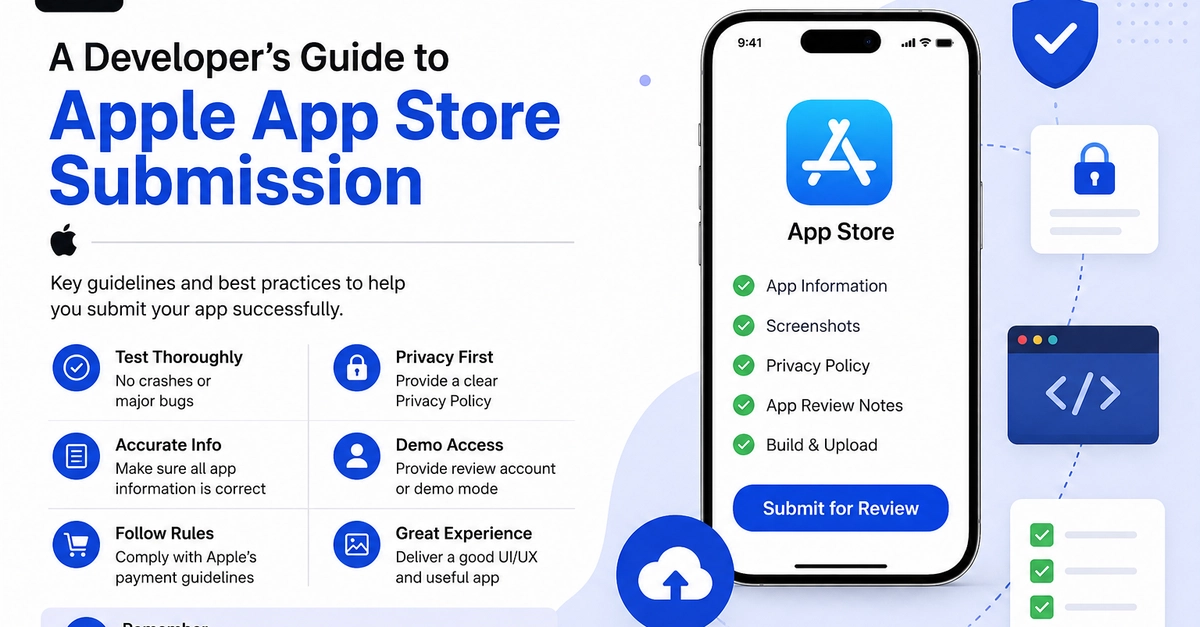
A couple of weeks ago, I helped a cross-platform app team with their App Store release. The code, packaging, and testing were all done, but we got stuck on the last step: how to get the IPA to the App Store. Nobody on the team had used a Mac, and many articles we read assumed you already have Xcode. That step is actually not that difficult. If you break down the complete iOS App Store publishing process, it comes down to registering an account, creating certificates, creating provisioning profiles, configuring Bundle IDs, packaging, uploading, and waiting for review. Each stage has clear steps, and I will walk through them in order below.
Registering a Developer Account
Registering a developer account is the first step. Both individual and company accounts cost $99 per year. To register, log in to the Apple Developer website with your Apple ID and agree to the agreement, and the account will be activated. Company accounts also require a D-U-N-S number. A free account can create development certificates and run internal testing, but it cannot submit or publish, and it cannot use capabilities such as Sign in with Apple, payments, or push notifications. To publish officially, you must upgrade to a paid account.