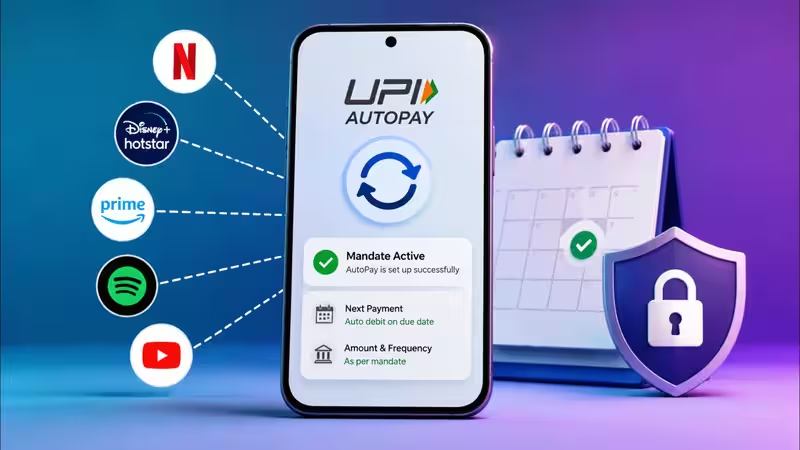
Before You Begin: Essential RequirementsUPI app installed and active (Google Pay, PhonePe, Paytm, BHIM, or your bank's app). Your bank account added to the UPI app. UPI PIN (set up while adding your bank account to the UPI app). The subscription or loan service you wish to set up the mandate for must offer UPI AutoPay as a payment option.How to Set Up UPI AutoPay for a Subscription?Open the merchant/service provider's website or app.Select the subscription plan.Choose UPI AutoPay/UPI Mandate as the payment option, if supported.Enter/select your UPI ID or choose the relevant UPI app.Review the mandate details, including amount, frequency and validity.Approve the mandate message in your UPI app.Enter your UPI PIN to authorise it.How to Set Up UPI AutoPay for an EMI?Setting up UPI AutoPay for an EMI generally works in a similar manner as setting up a subscription, with the slight difference being that it is set up from your loan or credit card app instead of a subscription app.Step 1: Open your loan or credit card app and navigate to the EMI or repayments section. Step 2: Look for an option to set up automatic repayment via UPI AutoPay or e-Mandate and select it.Step 3: Set up the mandate by providing the amount, due date, and the tenure of the EMI. Approve the mandate in your UPI app.Step 4: Similar to a subscription, you will see a message in your UPI app (Google Pay/PhonePe, etc.) asking you to authorise a recurring payment for your EMI, with the message containing the amount, frequency, and the merchant for which the mandate needs to be authorised. Step 5: Enter your UPI PIN to authorise the mandate for your EMI. Managing Your Existing UPI AutoPay MandatesMost of the UPI apps let you manage your mandates in one place. You can usually find this in the application's main menu under a tab that says "Mandates", "AutoPay", or "Manage Subscriptions".From here, you can do the following:View all active mandates: see every recurring payment currently authorised against your accountPause a mandate: temporarily stop payments without fully cancellingModify a mandate: in some cases, adjust the amount or frequency (support for this varies by app and merchant)Cancel a mandate: stop future payments entirely, directly from your UPI app, without needing to contact the merchant's customer supportTransaction Limits for UPI AutoPayUPI AutoPay does not have a single ₹15,000 maximum for all recurring payments. The ₹15,000 figure is associated with the additional-authentication threshold under the recurring-payment framework. RBI has raised the limit for subsequent recurring transactions without additional authentication to ₹1 lakh for specified categories, including mutual fund payments, insurance premiums and credit card bill payments. The applicable limits and authentication requirements can vary depending on the payment category and mandate.What Happens If a Transaction Fails?If you don't have sufficient balance in your bank account on the due date, the transaction will generally fail, and you will receive a notification about the failed transaction. This allows you to manually make the payment before any service disruption or penalty occurs. Most of the UPI apps and lenders also have an in-built retry mechanism that tries to auto-debit the amount again within a certain time frame, increasing the likelihood of a successful transaction if you've topped up your bank account after the failed attempt.
How Do You Set Up UPI AutoPay for Subscriptions and EMIs?
UPI AutoPay simplifies your financial management by allowing automatic deductions for subscriptions and EMIs, which helps you sidestep missed payments that could hurt your CIBIL score. To start, simply authorize a mandate through your UPI app. You also have the flexibility to view, pause, modify, or cancel any existing mandates, ensuring timely payments while keeping your card information secure from merchants.
545 words~2 min read