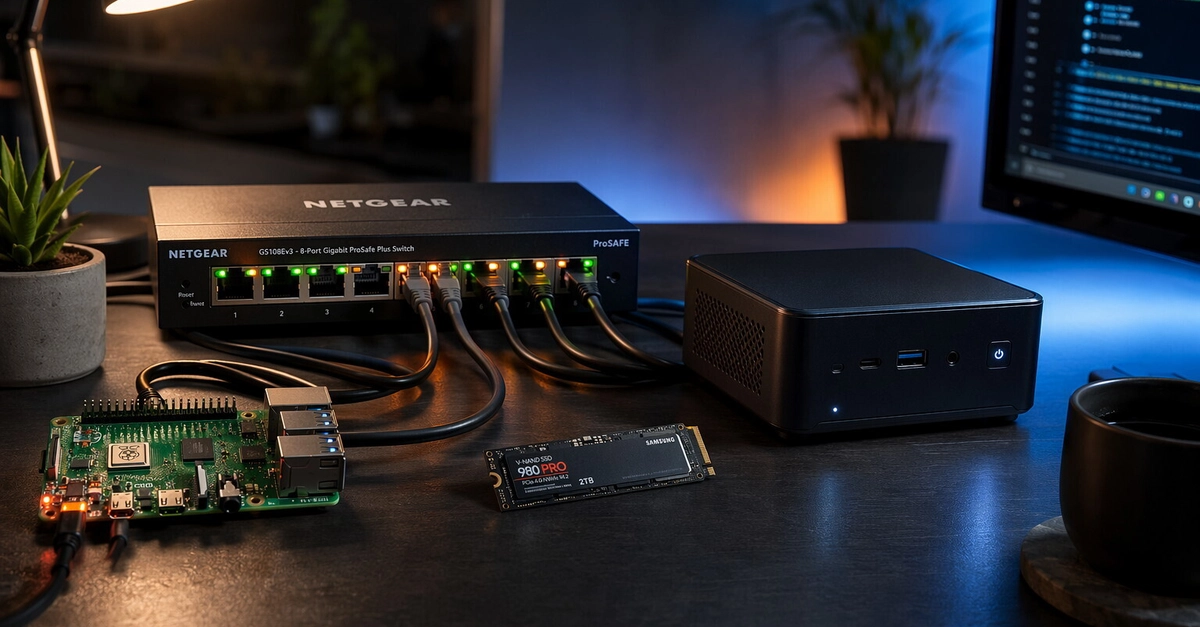
You do not need expensive equipment to build an embedded Linux lab. Start in QEMU with no hardware at all, then add one well-documented board and a 3.3V USB-to-serial adapter, then a logic analyzer, and finally a JTAG debugger only when a real problem needs one. Each stage builds a specific, practical skill, and spending in that order keeps you learning instead of shopping.
Most people who want to learn embedded Linux spend the first month deciding what to buy. That is the wrong first question. A good embedded Linux lab is a small, deliberate set of tools that lets you practise the core tasks of the field: booting a board, reaching a serial console, bringing up a peripheral, and finding out why something does not work. The value is in the tasks you can perform, not the hardware you own. This tutorial builds the lab in four stages, cheapest first, and names the skill each stage teaches you.
Why an embedded Linux lab matters
Reading documentation does not teach you what to do when you connect a serial cable, get nothing, and have to work out whether the fault is the baud rate, the wiring, or a kernel that never reached the console. An embedded Linux lab gives you a place to make those mistakes on your own time and to build real, repeatable practice. Every stage below is something you can set up this week, and each one leaves you able to say, in specific terms, "I brought up this board, the console was silent, and here is how I traced it."