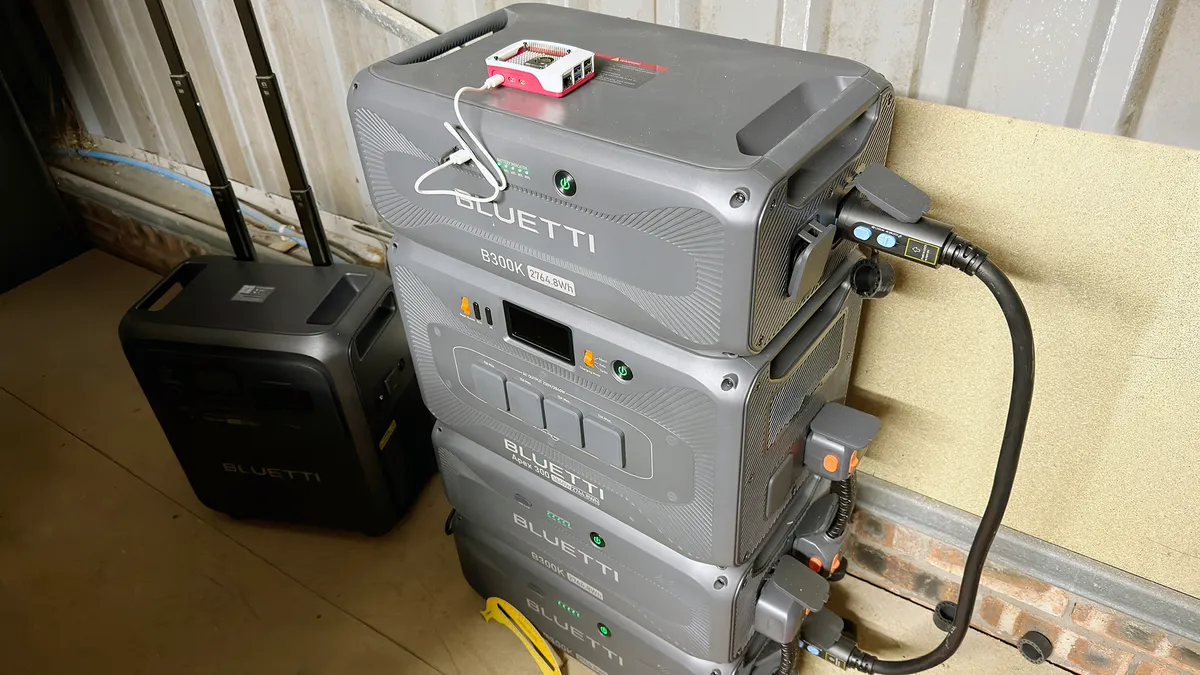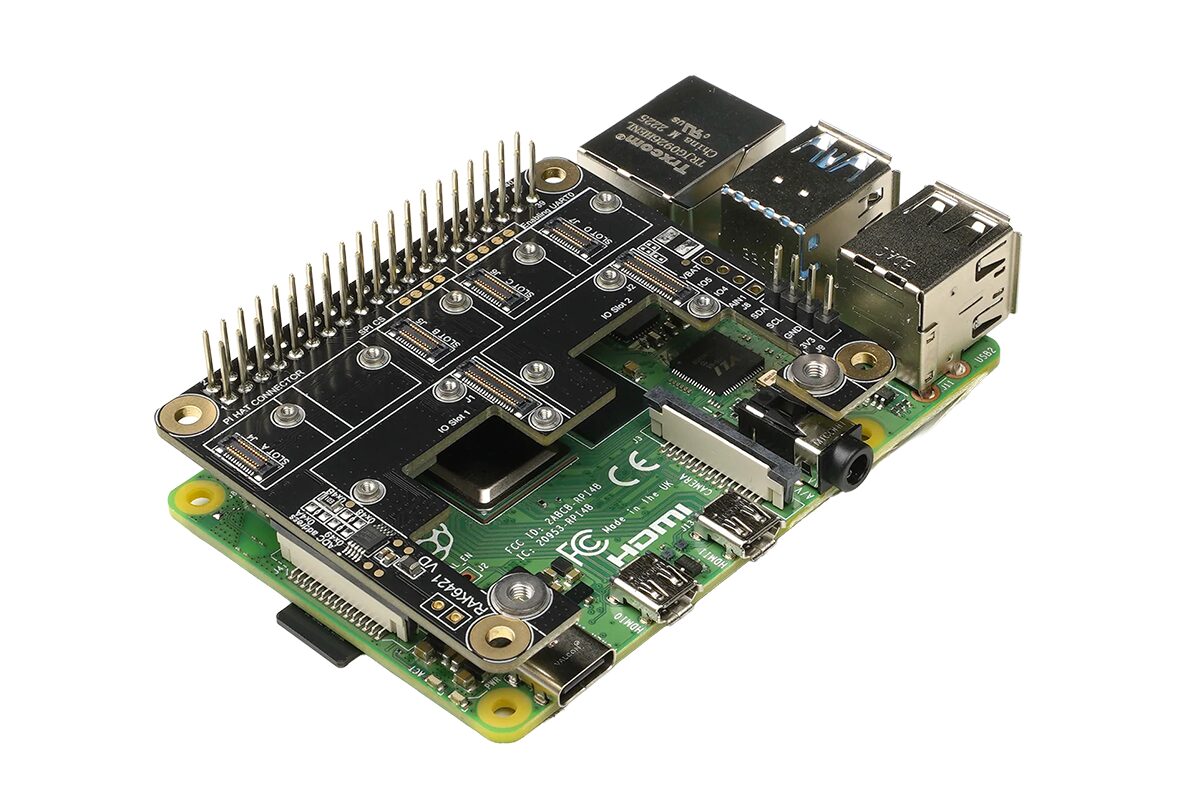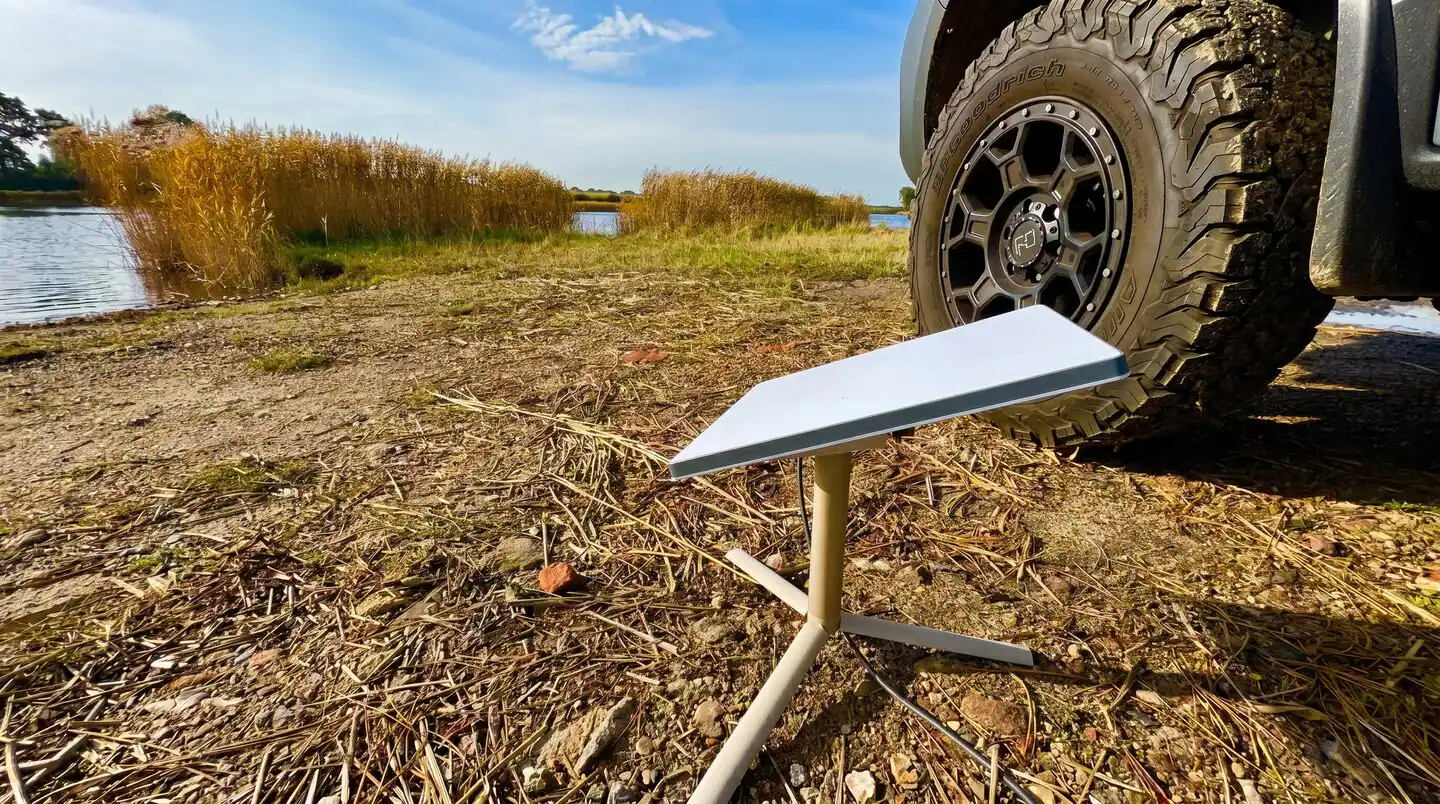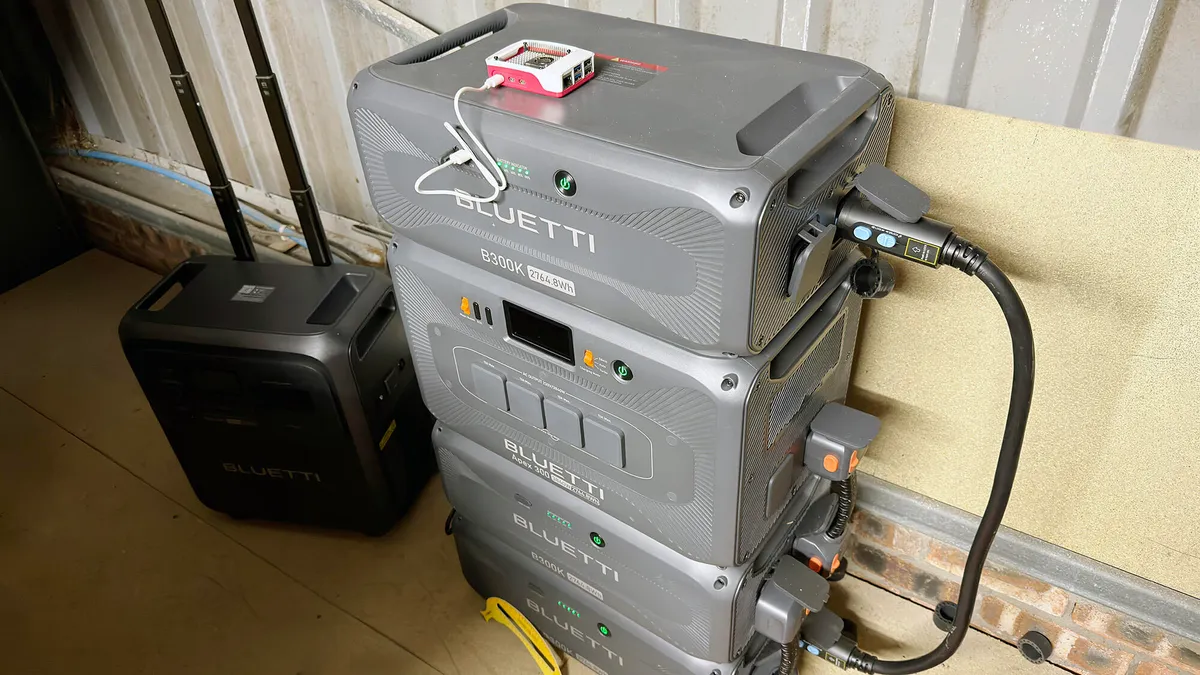
I needed a wireless router that I could connect to Starlink or tether to a handset. So I built one. Adrian Kingsley-Hughes/ZDNETFollow ZDNET: Add us as a preferred source on Google. ZDNET's key takeaways Why buy a wireless router when you can build one?This is a great way to highlight the power and versatility of the Raspberry Pi.It's quite a cheap solution, but there are cheaper mobile options.I needed a Wi-Fi router. I'm in the UK, so I'm not caught up in all that US FCC Wi-Fi router ban nonsense, but I needed a specific kind of router, one that I could use off-grid and act as a hub for my Starlink, control my solar power station, and such.It needed to be small, draw a low amount of energy, and be customizable to my heart's content. Also: This is the power backup setup I trust after years of testing - solar panels includedSo I decided to build one. Not from scratch, mind you (I didn't feel like mining the ore to make the chips), but starting with one of my favorite bits of kit: the Raspberry Pi. How to build your own Wi-Fi routerI know that Raspberry Pi boards aren't as cheap as they once were, but you can still pick up a 2GB Raspberry Pi 5 for $65 (or take a look over on eBay; you can sometimes pick up a used one or new old stock for less than the standard retail price). Also: I setup a $4 router reboot timer, and it's made my internet reliably fasterOr you might have one somewhere you can repurpose -- the one I'm using here was used for an AI project a while ago, and it'll no doubt get repurposed at some point down the line to do something else. You get a lot of flexibility from using your own router, from the ability to install ad-blocking to securing your connection with a VPN, features that you might not find on the more basic routers (or many pricey ones). What do you need?A Raspberry Pi: Mine is a Pi 5, but I've had decent success with earlier versions. However, I like the Pi 5 because it's got a lot of horsepower, better Wi-Fi, and a physical on/off button. A microSD card: Nothing special is needed here; pretty much anything will do (all I had handy was a 2TB Lexar Silver Plus card). You'll also need a way to connect the card to your Windows or Mac system to image it before putting it into the Raspberry Pi. A custom operating system: I have a choice here between OpenWRT and RaspAP. I like both and have used both extensively, but here I've gone for RaspAP because beginners find it easier.Also: Don't rely on your router's USB port when these alternatives are less prone to security risksI also have a heatsink and cooler on mine, because acting as a router 24/7 can put a fair demand on the board, and a cooling fan helps keep it running smoothly. You can also make your project look smart and help keep it running cool with a case that helps dissipate heat. My Raspberry Pi was repurposed from an old AI project. Adrian Kingsley-Hughes/ZDNET 1. Flash the microSD card The first step is to put RaspAP onto a microSD card for your Raspberry Pi so it can boot up. The process is called imaging the card, and to make this easy, we can use the official Raspberry Pi Imager tool that is available for Windows and Mac. You can even download and image RaspAP directly using this; just navigate to the "Other specific-purpose OS" category. Use a card reader to connect the microSD card to your computer, download the imager, and let it guide you through the process (you can skip all the customizations that are offered to you). Imaging the microSD card with RaspAP. Adrian Kingsley-Hughes/ZDNET Once you've imaged the microSD card, remove it from the computer, pop it into the Raspberry Pi, boot it up, and then wait a few minutes for it to start up. Now you're ready to connect to your Raspberry Pi. After installing RaspAP, the easiest way to access your Raspberry Pi is by connecting to its default Wi-Fi hotspot, RaspAP (yes, it's back to your computer again to do this, or you can use any device with a browser), with the password ChangeMe. Also: I switched to a Wi-Fi 7 mesh router at home, and the faster download speed is so worth itAfter you connect, fire up your favorite web browser and go to http://10.3.141.1 to access the RaspAP dashboard. You'll need the username admin and password secret to do this. Since all these passwords are the same for everyone, it is highly recommended that you change these default credentials after initial setup by clicking on the admin icon on the right and changing the password. 2. Options, options, options Now I've got lots of options. RaspAP is an incredibly powerful tool. Adrian Kingsley-Hughes/ZDNET I can connect the Raspberry Pi to my Starlink and have it act as a very capable Wi-Fi router with tons of functionality. I can set it up as a bridge to connect to an existing Wi-Fi network. I can even tether a cellphone using USB to my makeshift router and transform it into a full-on mobile hotspot (this can be where the support documentation comes in handy). Also: My home's Wi-Fi dead zones were worse than I thought - here's what fixed themThis will keep you busy for quite some time. Lots and lots to explore in RaspAP. Adrian Kingsley-Hughes/ZDNET 3. Upgrades But what if you want more? One thing that you might feel holds you back is Wi-Fi range. The Raspberry Pi 5 isn't bad at all when it comes to Wi-Fi, but for around $60, you can get much better range and reliability. What you need is a PCIe to M.2 Wi-Fi module adapter expansion board ($23) and an Intel BE200 Wi-Fi 7 network adapter card ($38) to make your Wi-Fi a lot better. I used a few of these adapters in a project about six months ago to blanket a patch of woodland with Wi-Fi, and that worked amazingly well. Also: Traditional Wi-Fi router vs. mesh: How to decide between the 2 popular networking optionsYou can also lose your dependency on a mains outlet to power your setup. A decent power bank and a 10W solar panel (the type used to charge up battery-powered cameras) will give you a decent amount of daily runtime, although the exact runtime will vary depending on factors such as workload and how much sun the spot gets. You can also get solar panels with power banks built into them. You have lots of options. Inspiration, and a cheaper off-the-shelf option If you need inspiration -- or some information to turn those dreams into reality -- a while ago, I came across a fantastic GitHub repository of RaspAP projects and tutorials. Want to build an autonomous weather station or a construction cam? This has you covered.Also: A $30 router with a built-in VPN? I had to try it - and haven't had any regretsDon't want to bother with all this? You can get yourself a pretty decent, self-contained travel router that'll do all this. You don't get the fun of making it, and there will be hardware and software limitations that you won't be able to smart your way out of (like upgrading the Wi-Fi hardware), but it's a bit of kit that you will be able to use out of the box. Take the GL.iNet Mango mini smart router, which is only $30.
How I easily built my own Wi-Fi router with a Raspberry Pi - for Starlink and solar control
This custom Wi-Fi router works off-grid with Starlink and can control my solar power station. Here's why I went the DIY route - and how.
1,278 words~6 min read