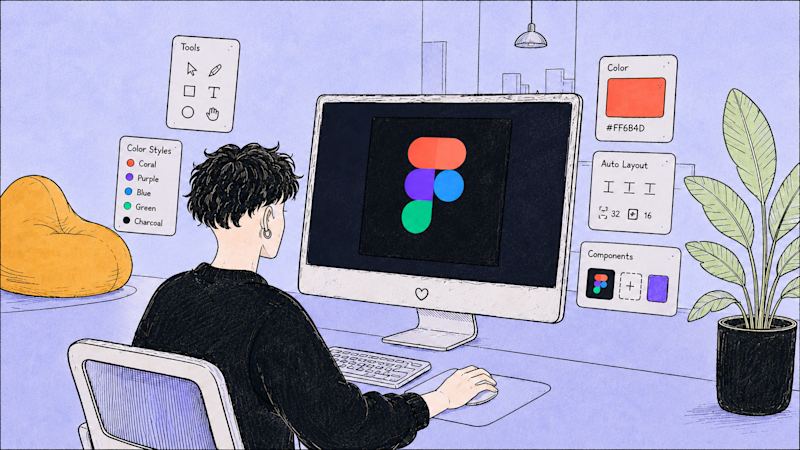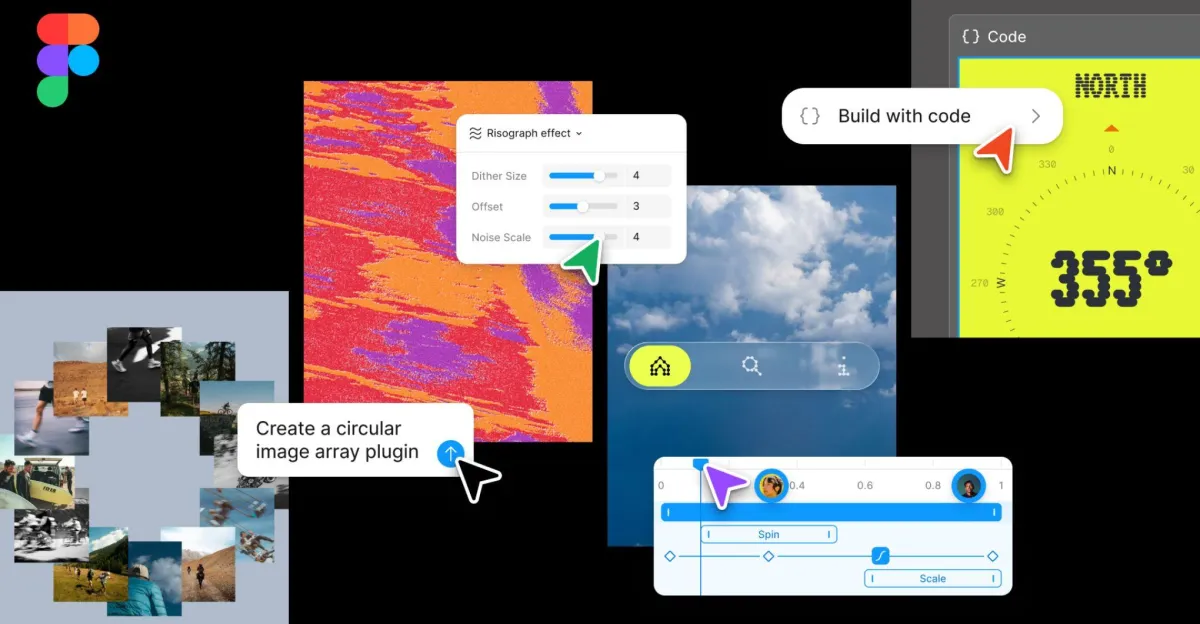
The four pieces of the new design-to-code workflow: shadcncraft in your project, the shadcncraft Figma kit, the Figma MCP, and the shadcn MCP. How to set it up, what the loop actually looks like on a real task, and how to bring it into an existing project.
Designers have been promised "design-to-code" for years. What kept arriving was a button that exported a div soup nobody wanted to ship. The promise quietly stalled. Something has shifted in the last twelve months, and the workflow that comes out the other side is finally one a real team can use.
This post is for the designer who wants to stop throwing redlines over the wall, and for the developer who wants to stop translating Figma layers into JSX by hand. It is about a single loop: design in Figma using a kit that matches your React components one to one, then let an AI tool read the Figma file and produce code that already speaks the same language as your codebase. Both sides of the team work in their native tool. The AI does the translation step that used to be a tax on everyone.
Below is how the loop works, how to set it up on an existing project, and where to keep your hand on the wheel.
Why this loop is different now