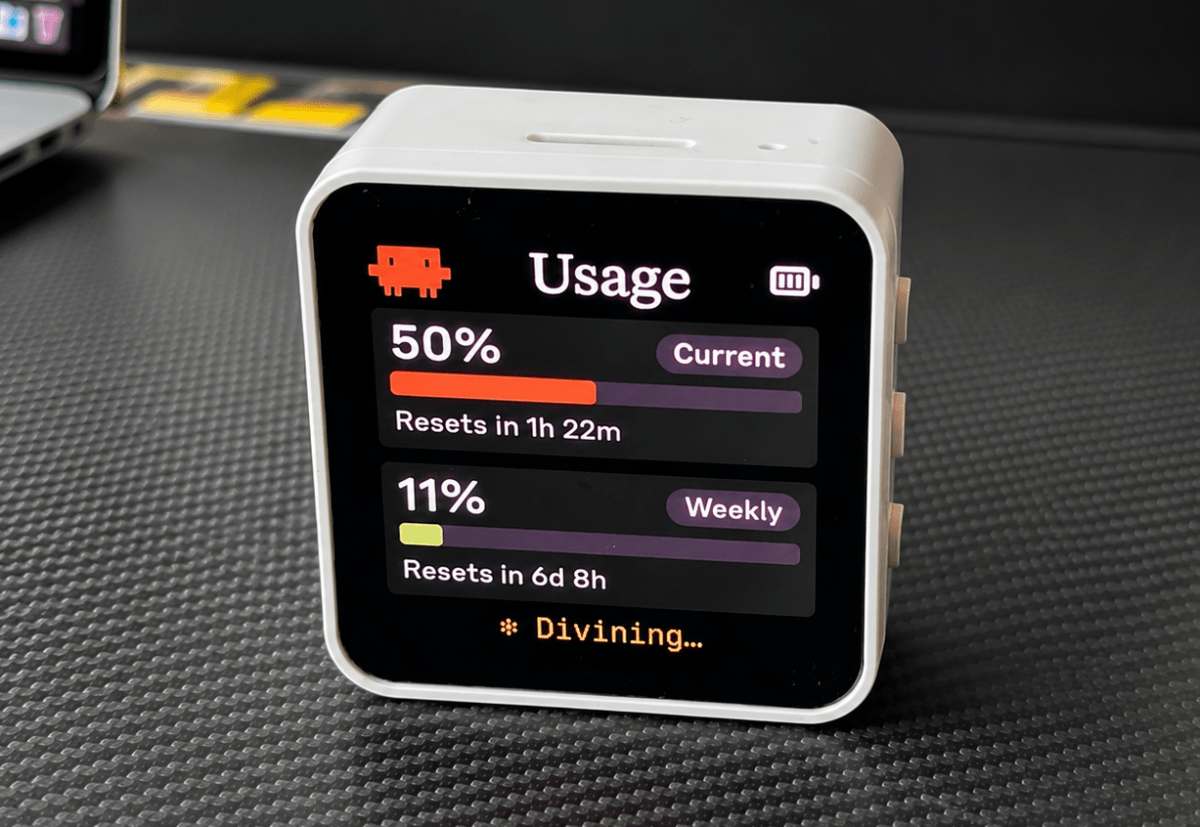
Things used in this project Hardware componentsmyPalletizer 260 M5https://americas.shop.elephantrobotics.com/products/mypalletizer×1macOS or Linux Host×1USB-C Cable for flashing×1Software apps and online servicesClaude Code With MembershipPython 3.10+ (with bleak and asyncio)Arduino IDE (with M5Stack and myPalletizer libraries)ArduinoJson libraryStory This open-source project is available on GitHub at: https://github.com/vhp8rc7p/hackster/tree/main/MyPalletizerRoboFlowWach the demo here:The "Is Claude Mad at Me?" SyndromeDo you find yourself running "/usage" every 5 minutes? Are you constantly checking if you're about to hit that 5-hour limit? You're not alone. We call it "Claude Code Anxiety." I saw the amazing "Clawdmeter" project—a dedicated M5Stack dashboard just for tracking token usage. It was beautiful, but then I looked at my desk. My 4-DOF robot arm myPalletizer 260 has a screen. It has Bluetooth. It has a literal "head." Why build a new dashboard when I can turn my robot into a living, breathing, usage-tracking sidekick? The goal was simple: stop typing "/usage" and start letting the robot tell us how we're doing.The Library Stack Challenge: Old vs. NewThe myPalletizer 260 Basic firmware is open-source (which is great!), but it hasn't been updated in years and relies on the standard Arduino IDE/libraries. The original Clawdmeter project, on the other hand, was built with a much more modern stack: PlatformIO, ESP-IDF, and LVGL for graphics.This meant I couldn't just drop the Clawdmeter code in. While I used it as a blueprint for the logic and API payloads, I had to manually reimplement the UI rendering and BLE setup from scratch using the older Arduino libraries available for the M5Stack Basic. It was a true porting effort from the ground up.Adapting a "Premium" UI to the M5StackI had to port the high-res AMOLED look to the M5Stack's 320x240 SPI screen using only the M5Stack.h library—basically drawing by hand with basic primitives.Nailing the Color Scheme: Instead of guessing "orange, " I pulled the exact hex codes from Anthropic’s brand identity and converted them to RGB565 format for the M5Stack (e.g., #d97757 becomes 0xDBAB). I also had to mix and match font sizes (like size 3 for the big percentages) to keep it readable from across the desk.Layout Math (320x240): I set up constants for margins and panel widths (PANEL_W, PANEL_H) so the layout stays tidy instead of hardcoding absolute pixel coordinates. Since M5Stack.h is low-level, I wrapped drawRoundRect and fillRoundRect into helper functions like drawPanel and drawPill to make the UI code cleaner.Visualizing "Anxiety": The Usage Bar Logic: To make the data readable at a glance, I wrote a helper function (pct_color) that returns a different RGB565 color based on the usage integer: Sage Green for normal use, Terra-cotta when you're pushing it, and a harsh Red when you hit the "Anxiety Zone."Flicker-Free UI Updates: One of the most annoying things about simple LCD projects is screen flicker when refreshing data. I used a simple state check (changed = (usage_data.ok != last_ok)) to ensure the M5.Lcd.fillRect commands only fire when new BLE data actually arrives, keeping the UI rock solid.The Dual Animation System (Pixels & Steel)This is where the project really comes to life, combining screen graphics with physical servo movement.The Screen (Pixel Art Animation): A huge shoutout to @amaanbuilds and the claudepix library for the amazing pixel-art Clawd animations! To fit a square animation on a landscape screen, I used some scaling math. A "pixel" on the physical M5Stack screen is just a tiny LED dot. If we drew the 20x20 Clawd animation 1:1, it would be a microscopic speck! To scale it up, I took each "logical" pixel and drew it as a 12x12 block of physical pixels (20 blocks * 12px = 240px). Centering it on the 320px wide screen just required a simple 40px X-offset.Memory Optimization (Why not a GIF?): You might wonder, "Why not just put a GIF on an SD card?" While possible, it's inefficient for an ESP32. Decoding a GIF requires heavy libraries and burns CPU cycles. Plus, reading from an SD card and writing to the screen forces them to share the SPI bus, causing lag. Instead, I stored the frames as lightweight 2D byte arrays in PROGMEM and drew them instantly using fillRect.// Rendering the 20x20 pixel-art frame by framevoid ClaudeMode::drawSplash() { const uint8_t *frame = cur_frames[current_frame]; for (int gy = 0; gy < GRID_SIZE; gy++) { for (int gx = 0; gx < GRID_SIZE; gx++) { uint8_t idx = pgm_read_byte(&frame[gy * GRID_SIZE + gx]); uint16_t color = anim_palette[idx]; M5.Lcd.fillRect( SPLASH_X + gx * CELL_SIZE, SPLASH_Y + gy * CELL_SIZE, CELL_SIZE, CELL_SIZE, color); } }}The Core Illusion of Animation: At its most basic level, an animation is simply drawing a specific arrangement of pixels at a specific timestamp. In my code, this boils down to three pieces: an array of pixel maps (frames), an array of durations (hold times), and a current_frame counter.
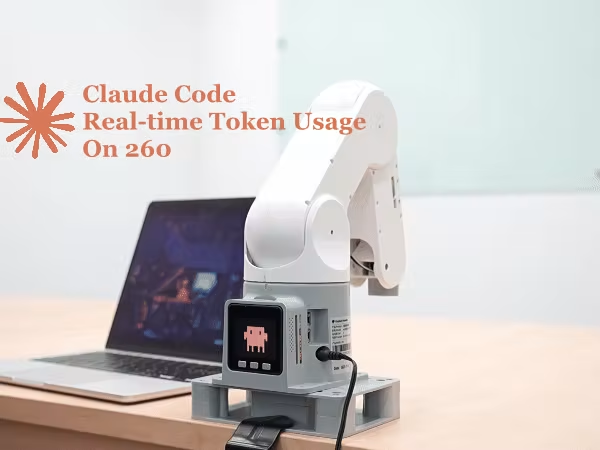
Built a Robot Arm That Tracks Claude API Usage in Real Time
Stop checking /usage every 5 minutes. A myPalletizer 260 tracks Claude API usage in real time, turning data into physical motion. By Elephant Robotics.
1,179 words~5 min read